
본 게시물은 전 게시물의 세팅환경에서 진행하였습니다.
numpy 1.15
tensorflow 1.4
keras 2.0.3
cuda8.0
cudnn 5.1
https://ultrakid.tistory.com/22
[Keras] Anaconda를 이용한 Faster R-CNN 세팅 및 예제 실행
본 글은 Windows 10 환경에서 Anaconda에 가상환경을 세팅하여 진행하였습니다. Faster R-CNN Faster R-CNN의 가장 핵심 부분은 Region Proposal Network(RPN) 입니다. R-CNN은 이미지 내에 객체가 존재할 것 같..
ultrakid.tistory.com
공부를 하던중에 사실 Faster R-CNN 기반의 Real-time object detection(실시간 물체 인식)에 관한 예제를 찾고 있었으나, 몇일동안 찾아도 Windows 기반으로 구축된 글은 외국 사이트를 뒤져봐도 저의 능력으론 찾지 못했습니다..
그나마 다행인건 동영상을 인식하는 예제가 있긴 했는데 살펴보니 동영상 자체를 input시켜 detection 하는 것이 아닌 동영상을 프레임?으로 쪼개어 사진 한장마다 인식을해서 인식이된 모든 사진을 다시 합쳐 동영상형태로 만드는 예제 코드를 찾았습니다. 처리 모델로는 ResNet50 을 사용하였습니다.
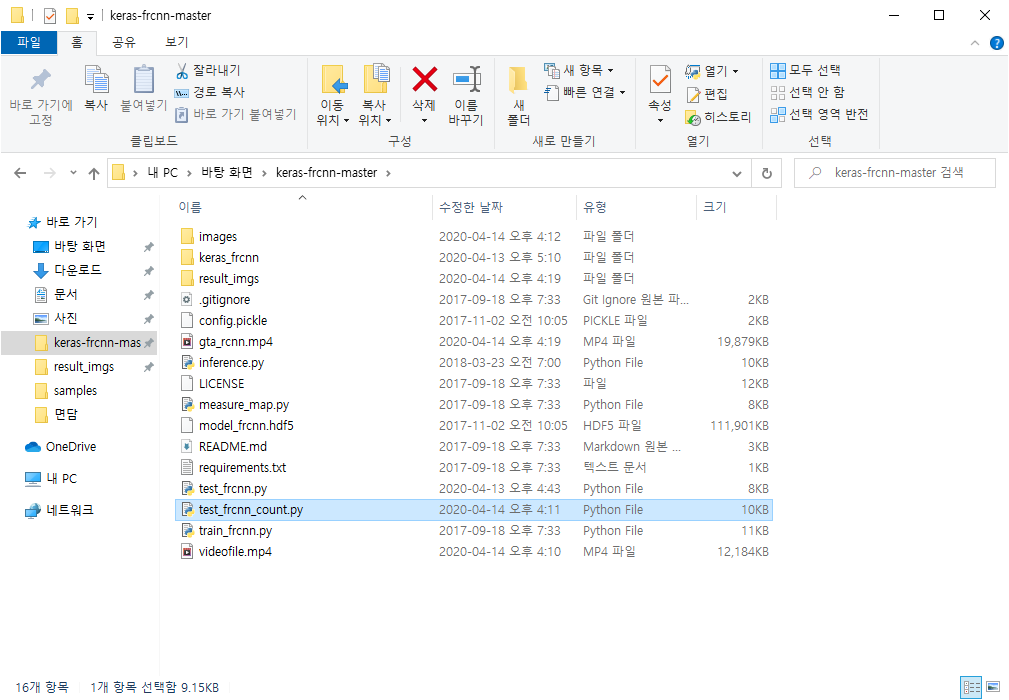
우선 전 게시물에 예제 코드를 하나 받아야합니다.
https://github.com/riadhayachi/faster-rcnn-keras/blob/master/test_frcnn_count.py
riadhayachi/faster-rcnn-keras
object detection in video. Contribute to riadhayachi/faster-rcnn-keras development by creating an account on GitHub.
github.com
다운을 받고 폴더안에 넣어줍니다.

마찬가지로 Anaconda Prompt를 실행시켜 만들어준 fasterRCNN 가상환경을 activate 해줍시다.

자이제 위의 폴더로 들어가서 코드를 입력합니다.
python test_frcnn_count.py --input_file 경로/처리할동영상.mp4 --output_file 경로/출력동영상이름.mp4 --frame_rate=25frame rate는 25로 default값을 설정해줍니다.
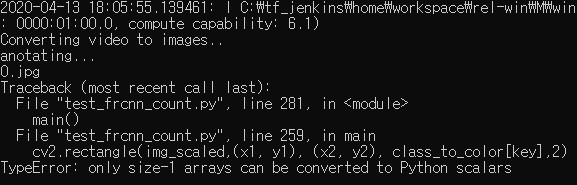
띠용..
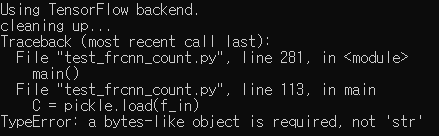
텐서플로우도 backend로 실행 잘되는가 싶더니 코드에 문제가 없지만 TypeError가 떴습니다.
https://github.com/pender/chatbot-rnn/issues/31
Pickle TypeError: a bytes-like object is required, not 'str' · Issue #31 · pender/chatbot-rnn
Getting this error: Traceback (most recent call last): File "chatbot.py", line 301, in main() File "chatbot.py", line 35, in main sample_main(args) File "chatbot.py", ...
github.com
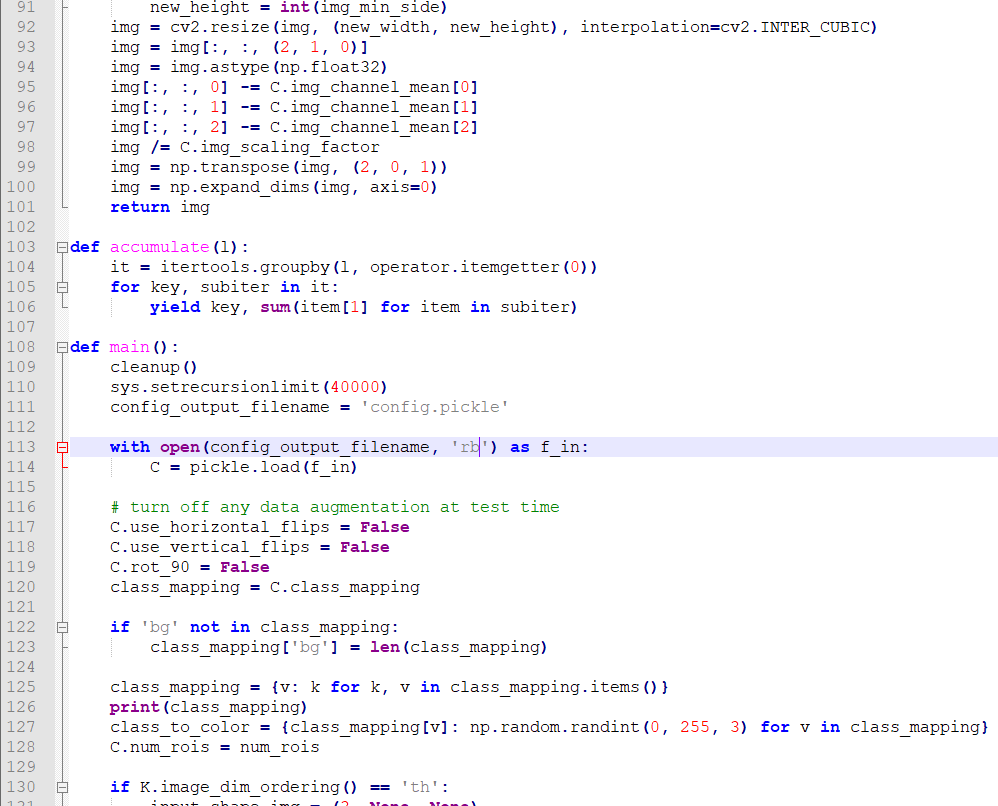
음영 처리된 부분중 with open(config_output_filename, 'r') as f_in: 부분에서 'r'을 'rb'로 고쳐야합니다.
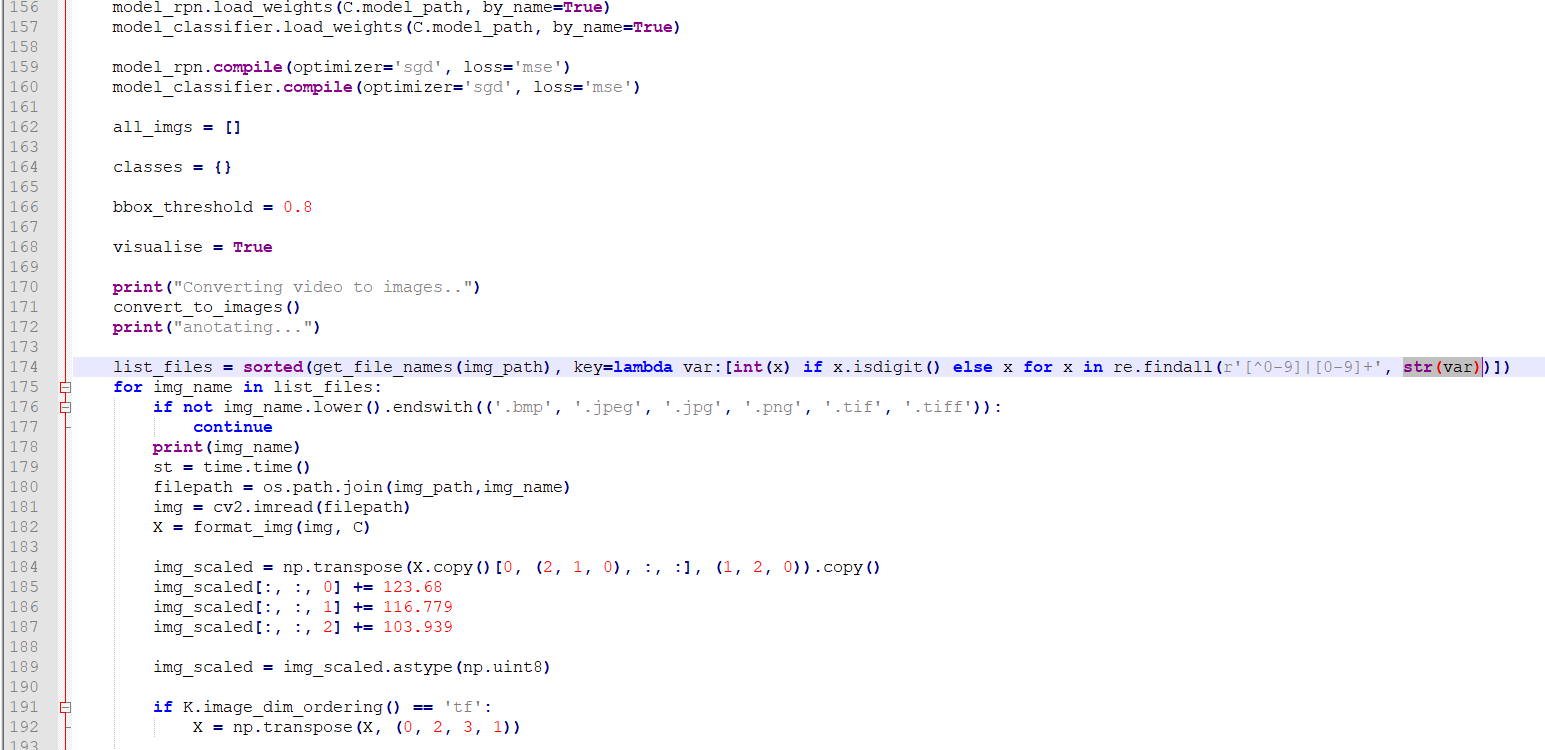
또 음영처리된 174번째 라인중 저부분이 원래는 var로 되어있으나 str(var)로 고쳐줘야합니다..
도대체 어디서부터 잘못된걸까 이틀동안 찾아본것 같습니다.

아마 이 코드가 python2.x버전대에서 작성한 코드라서 3.6버전에 안맞았던 것 같습니다.
2버전에서 3버전으로 올라가면서 문법이 약간씩 수정되었다고 합니다.
https://sebastianraschka.com/Articles/2014_python_2_3_key_diff.html
The key differences between Python 2.7.x and Python 3.x with examples
Many beginning Python users are wondering with which version of Python they should start. My answer to this question is usually something along the lines “ju...
sebastianraschka.com
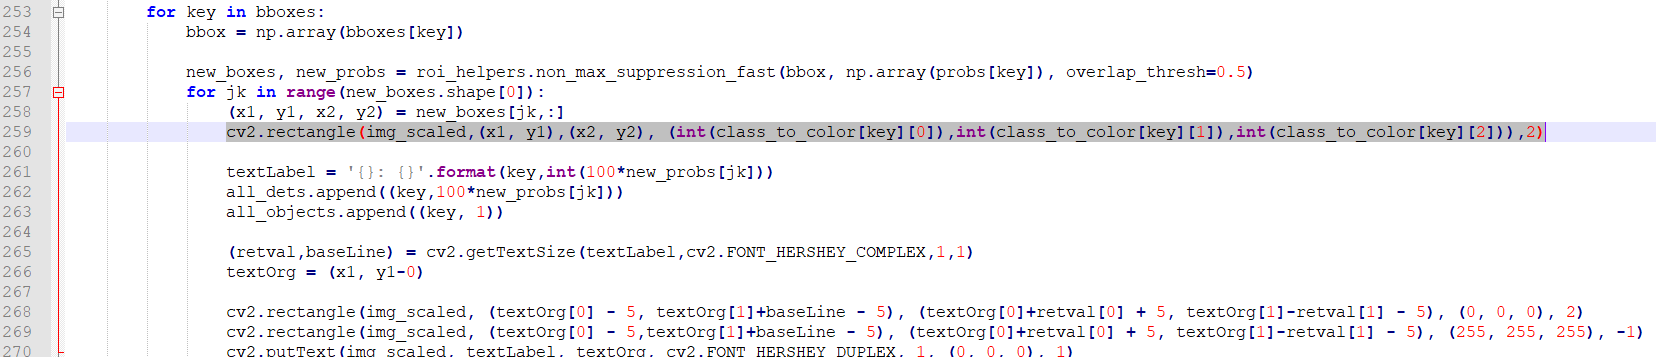
아래와 같이 변경해줍니다.
cv2.rectangle(img_scaled,(x1, y1),(x2, y2), (int(class_to_color[key][0]),int(class_to_color[key][1]),int(class_to_color[key][2])),2)이제 다시 코드를 입력하고 실행시켜줍니다.
python test_frcnn_count.py --input_file 경로/처리할동영상.mp4 --output_file 경로/출력동영상이름.mp4 --frame_rate=25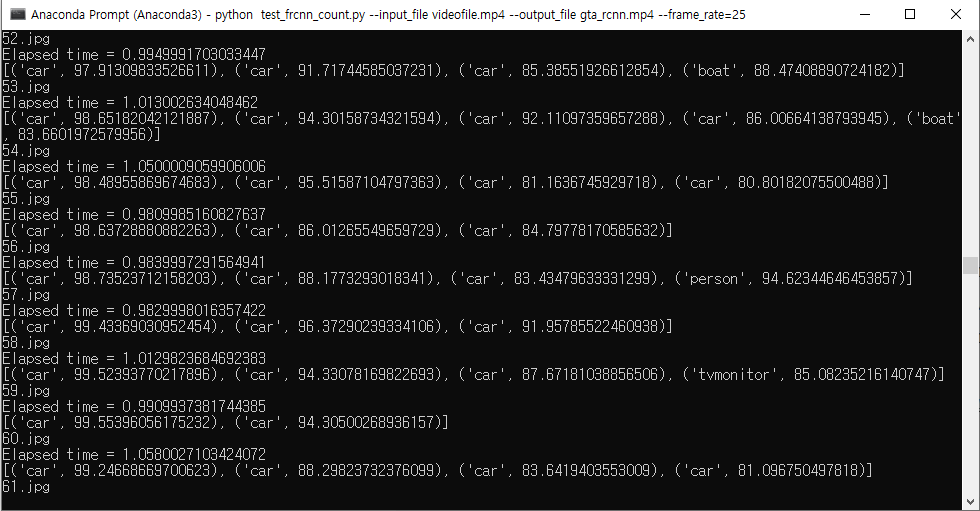
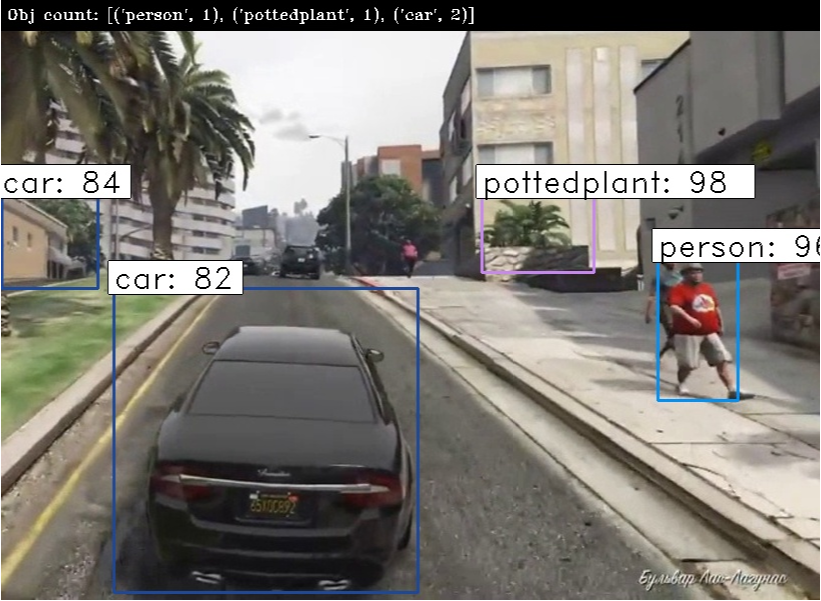
동영상을 프레임으로 쪼개어 한장씩 Object Detection을 수행한후 종합된 result image를 다시 합치는 방식입니다.
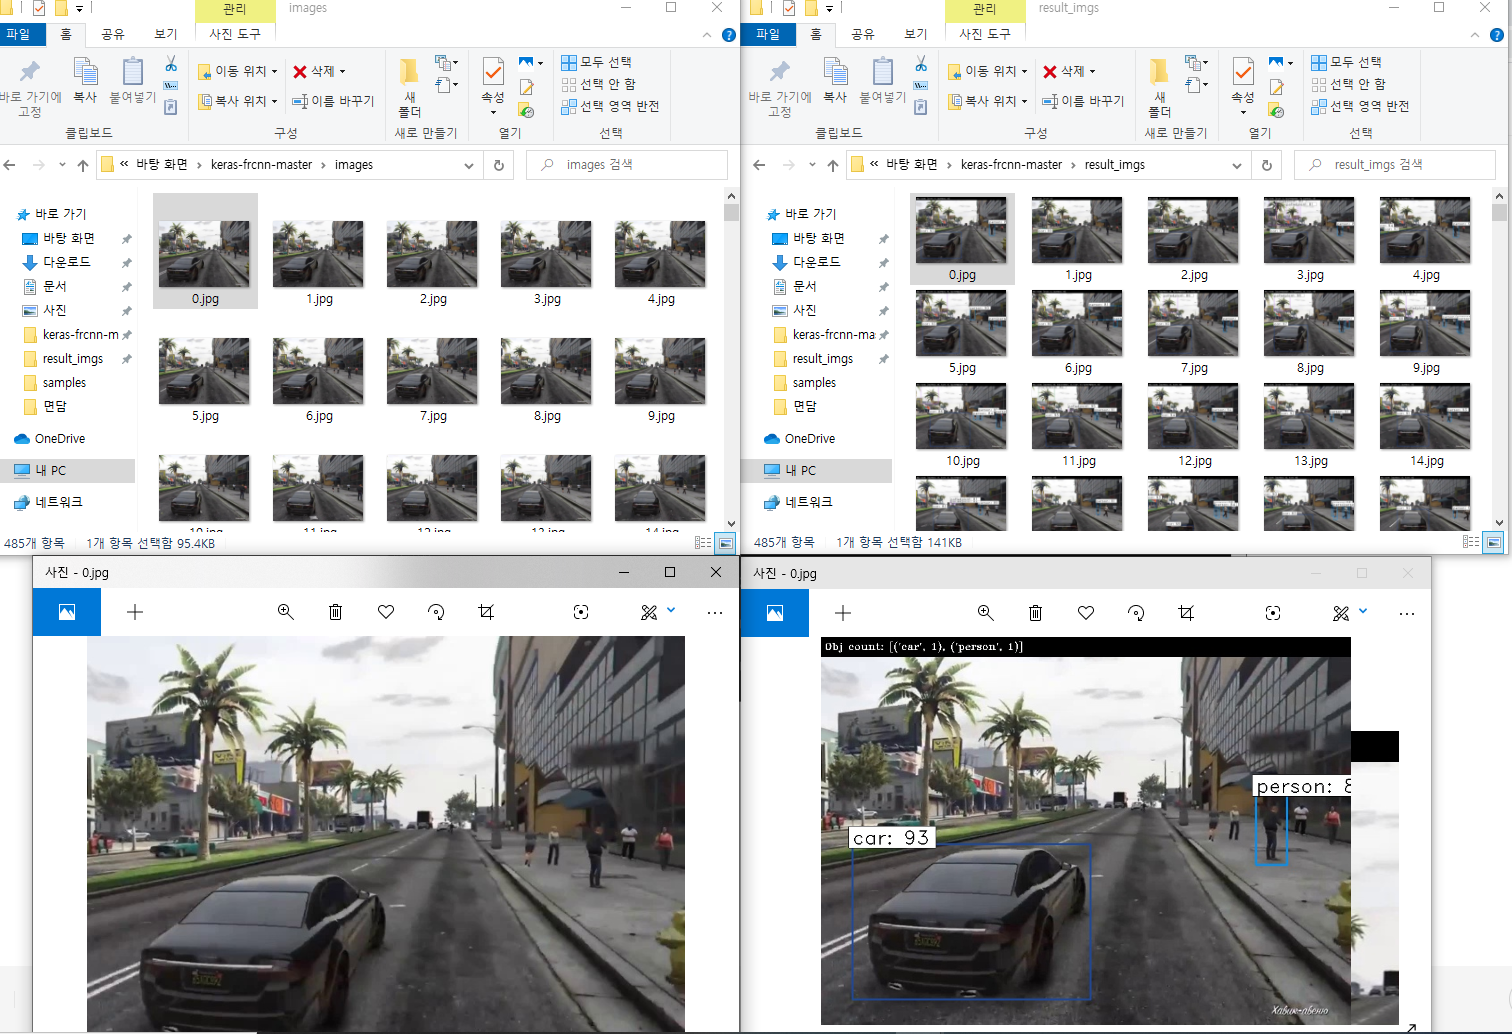
아래는 변환된 동영상입니다.
'AI > Keras' 카테고리의 다른 글
| [Keras] Anaconda를 이용한 Faster R-CNN 세팅 및 예제 실행 (22) | 2020.04.03 |
|---|---|
| [Keras] Mask R-CNN 환경 구성 및 Object Detection 예제 실행 (2) | 2020.04.01 |
| [Keras] CNN을 사용한 MNIST 손글씨 인식 (0) | 2020.03.27 |
| [Keras] MNIST 손글씨 데이터 셋을 이용한 Keras 기초 과정 알아보기 (0) | 2020.03.26 |